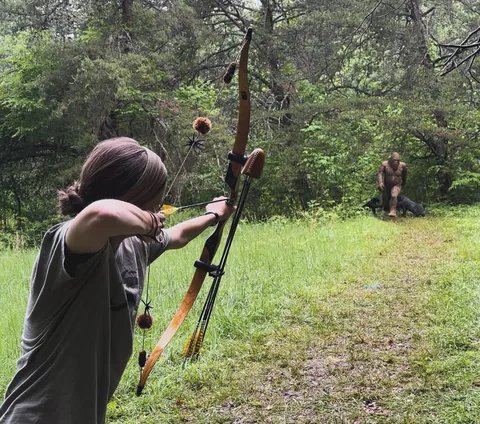
- Safety first, always. Learn the four whistle commands and never dry-fire a bow.
- Measure before you buy. Find your dominant eye and draw length at home in ten minutes.
- Start light. A 20–28 lb takedown recurve is the easiest first bow for most adults.
- Take one lesson. Thirty minutes with a coach saves months of bad habits.
- Shoot close and often. Ten yards, short sessions, three or four times a week.
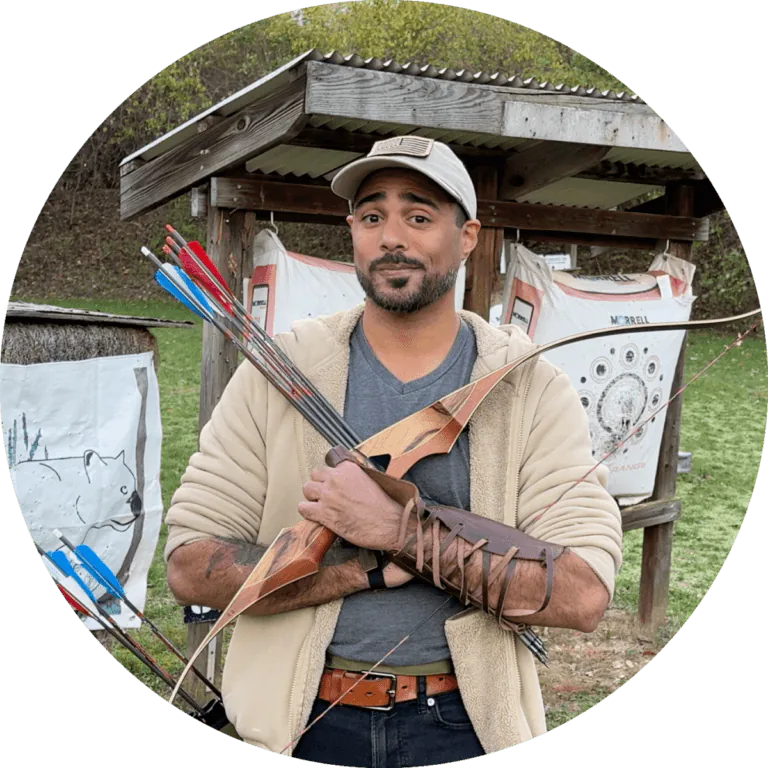
In July 2024 I bought a 45-pound recurve and figured I could work it out without watching a single video. I could not. 😅 I burned my arm on the first shot, and the first time I really tried to pull 45 pounds, I got three shots in before I was done. This guide is everything I wish someone had handed me that first week.
This guide takes sides. Start light, take one lesson, and never dry-fire a bow. Where I lean on coaches or rulebooks, I link to them, and every source is listed at the bottom.
Read it start to finish, or jump to the chapter you need. It’s long on purpose. It’s meant to be the one archery page you bookmark.
The kinds of archery
Most beginners picture archery as one thing: stand still, shoot at a round target, repeat. Spend a few weeks at a range and you’ll see people doing very different things with very similar bows: practicing for elk season, getting ready for an indoor tournament, or just walking a 3D course.
Archery isn’t one sport. It’s five or six that share the same bow, and each one asks for slightly different gear. Knowing which one you’re after saves you from buying the wrong bow first.
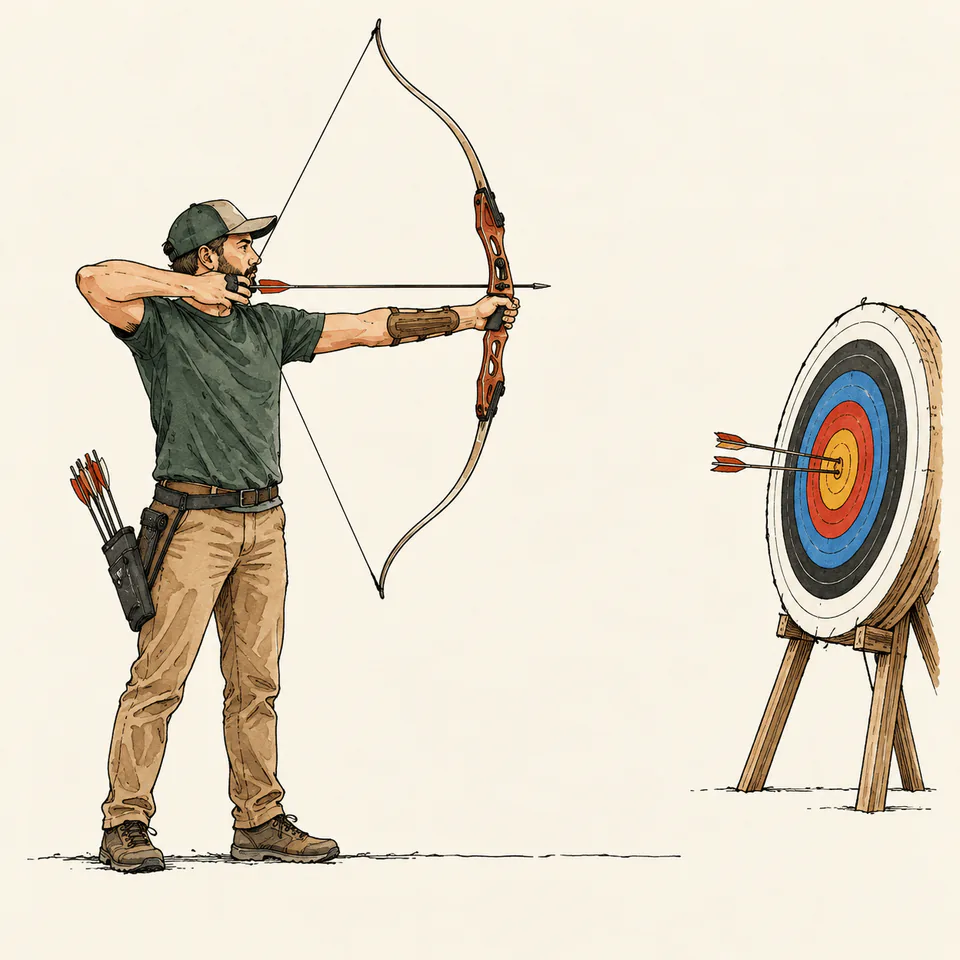
Target
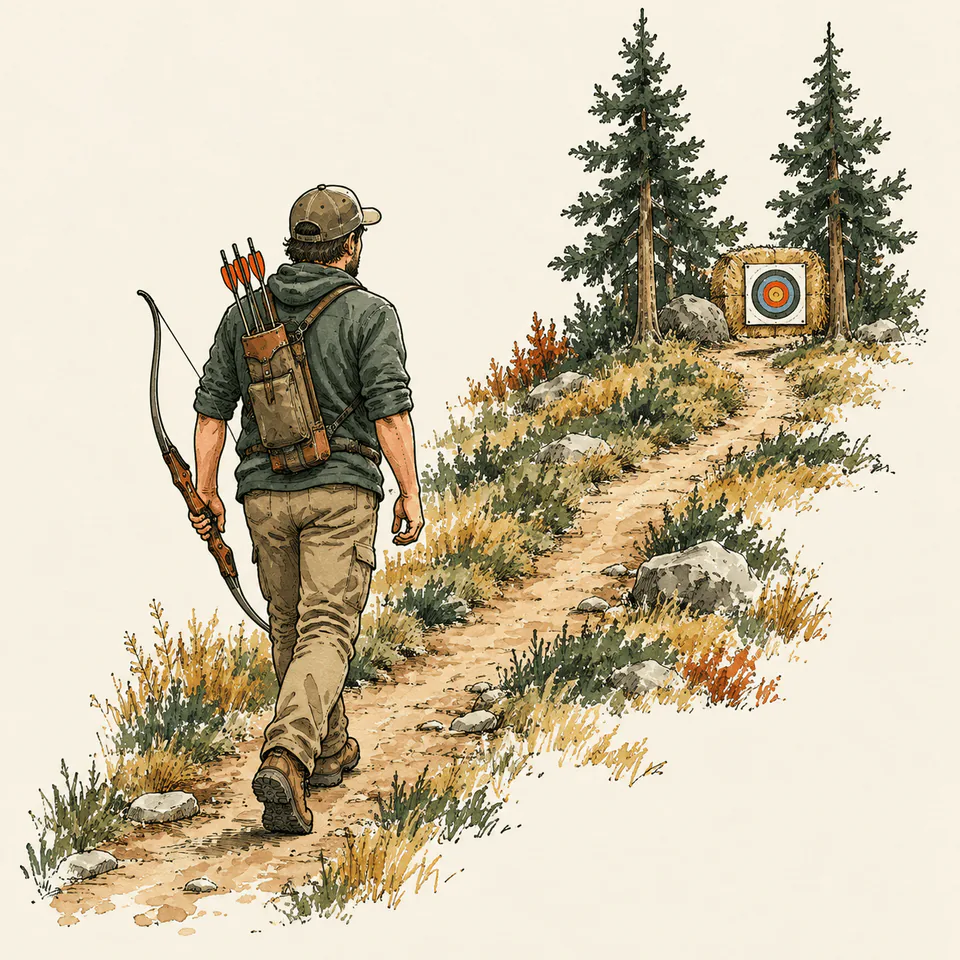
Field
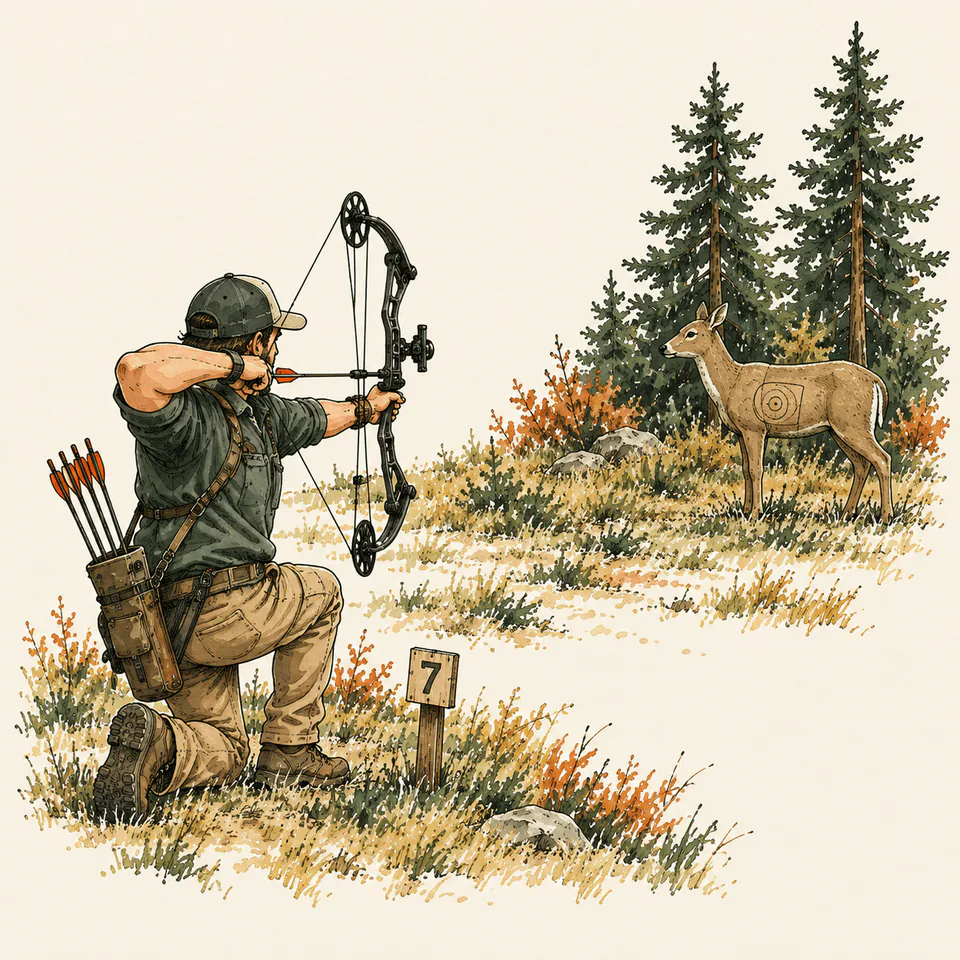
3D
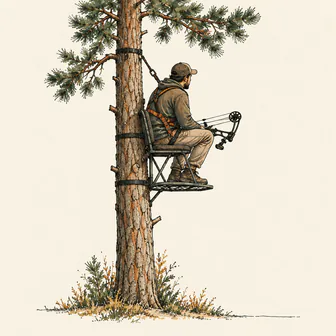
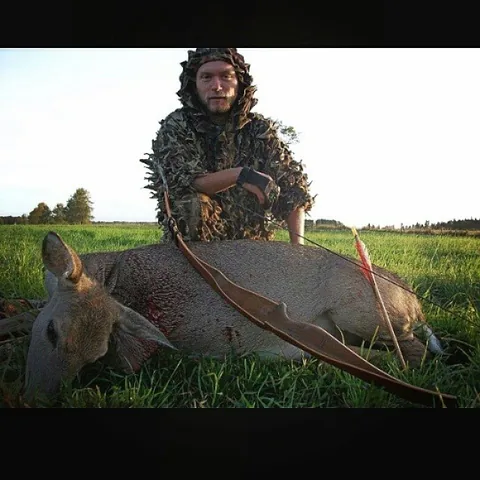
Bowhunting
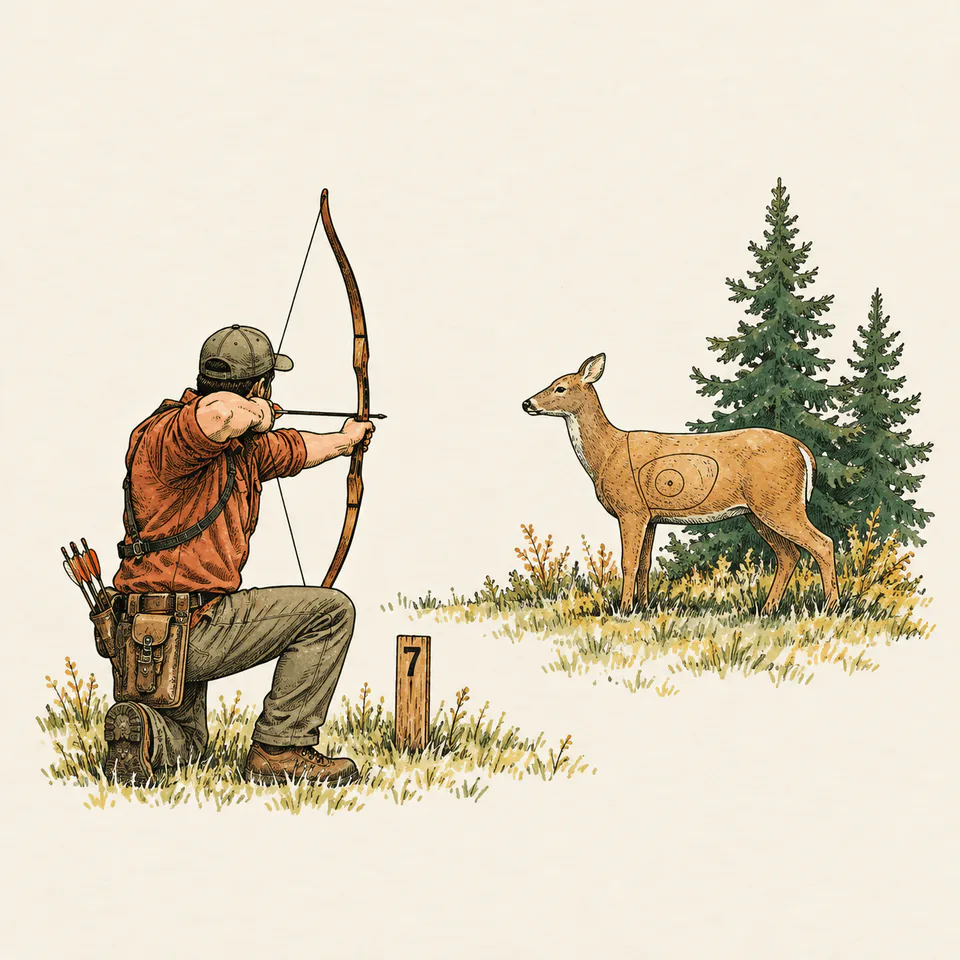
Traditional
Most people start with target archery at an indoor range, and that’s where I’d start too. It’s cheap, the lanes are lit and level, and someone is always around to answer questions. You can branch out once you can hit the bale every time.
Archery is for everyone
Kids, grandparents, wheelchair users, archers who are blind or have low vision: almost anyone can shoot. Para archery has its own classes and adapted gear, like tactile sights for visually impaired archers, and most clubs can set you up with a bow that fits.
The sport is run worldwide by World Archery, which writes the rules for target and field archery and the Olympics.
None of these is the “real” archery. They share the same fundamentals: a consistent stance, a consistent anchor, a clean release. What changes is the distance, the target and the gear you add on top. That’s good news for a beginner, because it means everything you learn in your first year carries over, whichever direction you end up going.
My advice is to stay curious. Shoot targets for a season, then try one 3D shoot and one field course. You’ll know pretty quickly which one makes you want to come back.
Range safety comes first
My first range session was embarrassing. At 15 yards I wasn’t hitting anything, and luckily someone on the line stopped to show me how to draw properly. Then I let the string go with no arrow on it. I dry-fired my bow at the range, and the whole range went “whoa.” People weren’t freaked out, but they were really concerned, and that’s how I learned it’s a big no-no: a dry fire can break the bow.
I actually did a dry fire and the whole range was like whoa.
That’s the point of range rules: they aren’t a formality. A bow is a weapon, and everybody on the line is trusting everybody else.
Archery is one of the safest sports there is, because every range runs on the same simple rules. The most important ones are the whistle commands. The system is standardized and used everywhere from summer camp to the Olympics.
Beyond the whistles, ranges enforce the same short list. Learn these before your first visit and you’ll look like you’ve been doing this for years.
The arrow is only dangerous when it’s pointed at something. Keep it pointed at the target.
A well-run range feels relaxed once you know the rules. Nobody is nervous, because everyone knows exactly what happens next. You shoot your end, you wait, you walk up together, you pull, you walk back. It becomes a rhythm, and that rhythm is a big part of why archery is so calming.
If you ever practice somewhere without a range officer, like a backyard or a friend’s property, you become the range officer. Check what’s behind the target, keep people and pets behind you, and never shoot anything you can’t see clearly. In my backyard, a big shed stands behind the targets, so a miss lands in the shed and nowhere else.
Your eye, draw length and draw weight
This chapter is the one I wish I’d read before I spent a cent. Almost every frustration I had in my first month traced back to one of these three numbers, the draw weight: my bow was far too heavy for me. The other two are just as easy to get wrong.
Before you buy anything, you need three numbers: which eye you aim with, your draw lengthDraw lengthHow far you pull the string back at full draw, in inches. It decides your arrow length and how much power you get from a bow. Read more →, and a safe starting draw weightDraw weightHow many pounds of force it takes to pull the string back. Recurve limbs are usually marked at a 28-inch draw. Start lighter than you think. Glossary →. All three take less than ten minutes to figure out at home.
Find your dominant eye
Your dominant eyeEye dominanceWhich eye your brain trusts more. It decides whether you should shoot right- or left-handed, no matter which hand you write with. Glossary → decides which hand draws the string. Most right-handed people are right-eye dominant, but not all, and shooting “across” your eye is one of the most common reasons beginners can’t group.
Measure your draw length
You don’t need a pro shop for a first estimate. Stand against a wall, stretch your arms out and measure fingertip to fingertip.
Pick a starting draw weight
This is where most beginners go wrong, including me. My first bow was 45 lb. The first time I tried to pull it, I got maybe three shots in before I was done, and I wasn’t even drawing all the way to my cheek yet. A resistance band around a door and a lot of shooting got me there, but I’d still tell you to start at 40 lb, or even 35, just to learn the technique.
My advice: go to a store and find a weight you can pull to your cheekbone and hold for three seconds, long enough to take a good breath. If you can’t, it’s too heavy.
Go to a store and find out your ideal weight, like what’s the correct size that you can pull comfortably, and actually hold and maintain all the way up to your cheekbone for at least three seconds so you can take a good breath.
For a stricter test at home, start light enough to hold at full draw for eight seconds, ten times in a row.
Compound bows work differently. Their let-offLet-offHow much of a compound bow’s draw weight drops away at full draw, as a percentage. Glossary → means you only hold a fraction of the peak weight, so most adult beginners start between 30 and 50 lb and turn the weight up as they get stronger.
Write these three numbers down somewhere you’ll see them: your dominant eye, your draw length and your target draw weight. Take them with you to the pro shop. They’ll check them, but walking in with them already in hand changes the conversation from “what should I buy?” to “here’s what fits me.”
Your draw length can creep up by an inch or so as your form improves and you start using your back. Your comfortable draw weight will climb too. That’s normal, and it’s the main reason to pick a bow that can change with you.

// Free printable
Get the range log I actually use.
Seventeen printable pages: session log, score tracker, a 30-day drill challenge, a bow maintenance card, a first-season checklist and more. Join the monthly email and it lands right away.
Choosing your first bow
This is the decision that gets the most attention, and honestly, it matters a little less than people think. A beginner with good form will shoot a cheap bow well. A beginner with bad form will struggle with an expensive one. That said, the right first bow makes learning easier and keeps you from spending money twice.
There are three bows most beginners choose between. Each one is a good first bow for a different kind of archer.
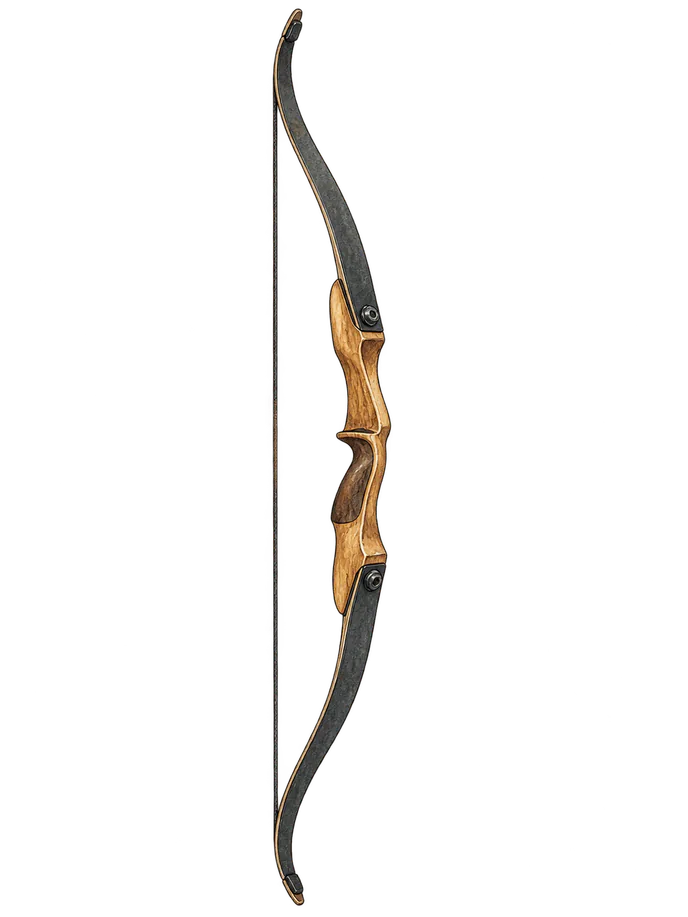
Recurve
- Light, simple and forgiving
- Takedown models grow with you
- No let-off: you hold the full weight
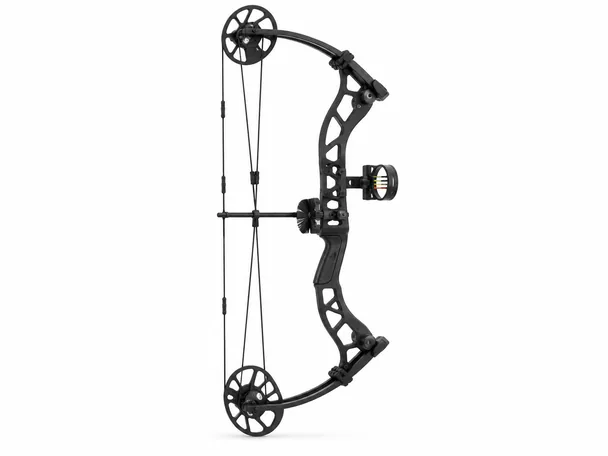
Compound
- Let-off makes holding easy
- Most accurate out of the box
- Needs a pro shop to fit and tune
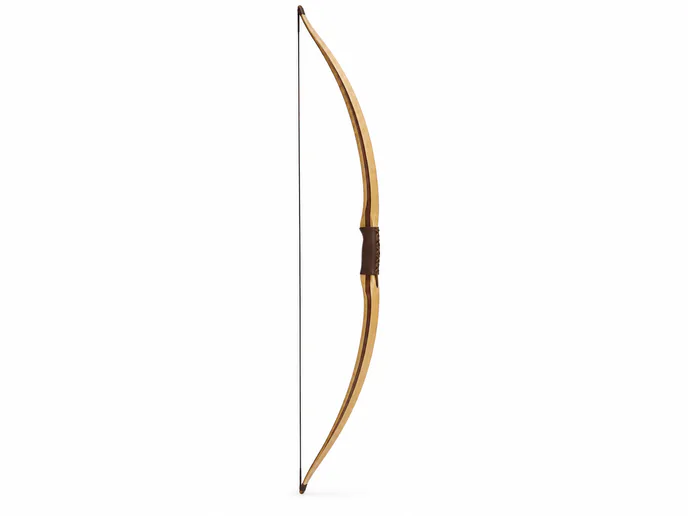
Longbow
- Quiet and very simple
- Pure instinctive shooting
- Less forgiving, more hand shock
Recurve, compound or barebow?
If you ever want to compete, there are three main styles. Barebow is a recurve with almost everything taken off, and it’s where a lot of people start. Barebow archery is also how I shoot most days.
| Feature | Recurve | Compound | Barebow |
|---|---|---|---|
| Aiming | Sight pin | Magnified scope, level and peep sight | Arrow point, using string walking |
| Release | Fingers and a tab | A mechanical release aid | Fingers and a barebow tab |
| Stabilizers | Long rod, side rods, V-bar | Long rod and side rod | None, weights only |
| Weight you hold | The full draw weight | 10–35% of peak, thanks to let-off | The full draw weight |
| Outdoor target | 122 cm face at 70 m | 80 cm face at 50 m | 122 cm face at 50 m |
Inside a recurve setup
An Olympic recurve looks complicated, but it’s the same riser, limbs and string as a beginner bow, plus a handful of parts that each do one job. You don’t need any of them in your first month.
How a compound works
Compounds arrived in the 1960s. Cams at the ends of the limbs work like pulleys: the pull gets heavy in the middle of the draw, then drops off near full draw. That drop is let-off, and it’s why a 60 lb compound can be held at about 12 lb while you aim.
What length recurve?
Once you know your draw length, the bow length follows. Taller archers with longer draws need longer bows so the string angle stays comfortable. Lancaster Archery’s starting chart puts a 26–28″ draw on a 66–68″ recurve and a 28–30″ draw on a 68–70″ one.
If you go with a recurve, the next decision is takedown or one-piece. For a first bow, takedown wins, because the limbsLimbsThe flexible upper and lower arms of the bow that store the energy. Glossary → come off the riserRiserThe center section of the bow, the part you hold. The limbs attach to it. Glossary → and you can buy heavier limbs as you get stronger.
If I could only point you to one bow, it’s the beginner takedown most archers recommend.
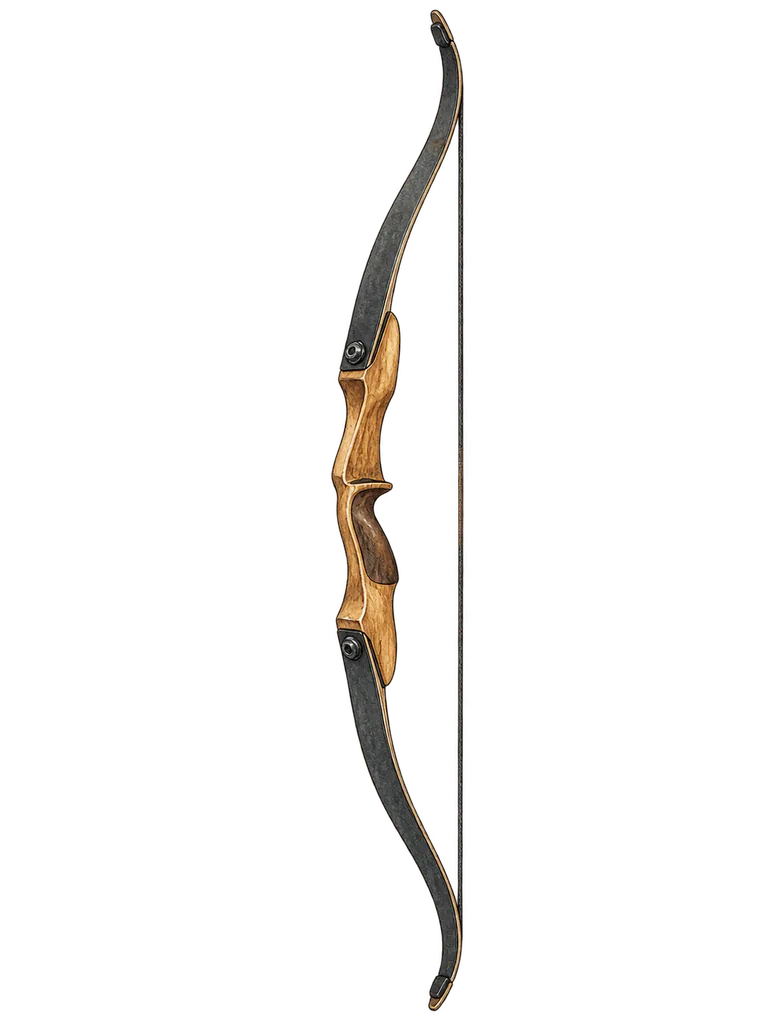
the usual first pick
Samick Sage Takedown Recurve
Limbs from 25 to 60 lb fit the same riser, so you start light and swap limbs as you get stronger instead of buying a new bow.
- Forgiving of a sloppy release
- Holds its resale value
- Gets loud at heavier weights
If you’re torn, here’s how I’d decide. If you want to learn the craft and you like the idea of simple gear, start with a takedown recurve. If you know you want to hunt in the next season or two, go see a pro shop about a compound. If you fell in love with longbows the first time you held one, buy a longbow and accept that it’ll ask more patience of you.
Whatever you choose, shoot it at a shop before you buy it. A bow that feels awkward in your hand on day one rarely stops feeling awkward.
Arrows that fit you
The arrows that came with my bow were way too long and flimsy, with a terrible spine. You could see them flying left and right, and I stopped using them after talking to people at the range.
Arrows matter as much as the bow. The wrong arrows fly badly from a perfect bow, and the right arrows make a cheap bow shoot surprisingly well.
Two numbers decide whether an arrow fits you: its length and its spineArrow spineHow stiff an arrow shaft is. Too stiff or too weak for your bow and draw weight, and the arrow flies off to one side. Glossary →. Length is easy: take your draw length and add one to two inches, so a too-short arrow can never be pulled off the rest. Spine is the stiffness of the shaft, and it has to match your draw weight.
| Draw weight | Spine | Typical shaft |
|---|---|---|
| 20–25 lb | 1000–800 | Youth or light target carbon |
| 25–30 lb | 800–700 | Light target carbon |
| 30–35 lb | 700–600 | Most adult beginners |
| 35–40 lb | 600–500 | Heavier target carbon |
| 40–45 lb | 500–400 | Hunting-weight carbon |
A matched dozen will serve you for a long time. Buy them all at once from the same batch, so every arrow weighs and flexes the same. Number them with a marker. If one keeps landing outside your group, you’ll know it’s the arrow and not you.
You will lose and break arrows. Everyone does. Treat it as part of the cost of learning, and keep two or three spares with you so a bad day doesn’t end your session early.
Accessories you actually need
The archery aisle is designed to make you feel underprepared. Most of it is aimed at archers with a few years under their belt.
Two things I learned the hard way. My first shot ever was with no arm guard, and I burned my arm so hard. Buy one for day one. Once my form was right I stopped hitting my arm, and now I shoot in long sleeves or a hoodie, but for a beginner it’s worth it. And skip anything expensive: a cheap bow shoots very close to an expensive one. As a beginner, you won’t appreciate expensive gear. You have to build up to it.
As a beginner you’re just not gonna appreciate any good gear. You have to build it up.
You need less than the archery aisle wants you to think. Everything on the left keeps you safe and comfortable on day one. Everything on the right can wait until you know you need it.
What every accessory does
| Accessory | What it does | Recurve | Compound | Barebow |
|---|---|---|---|---|
| Finger tab | Protects your fingers from the string | ✓ | – | ✓ |
| Arm guard | Keeps the string off your forearm | ✓ | Optional | ✓ |
| Chest guard | Keeps clothing out of the string’s path | ✓ | Optional | ✓ |
| Release aid | A trigger that draws and lets go of the string | – | ✓ | – |
| Arrow rest | Holds the arrow; a “launcher” on a compound | ✓ | ✓ | ✓ |
| Pressure button | Fine-tunes how the arrow leaves the bow | ✓ | – | ✓ |
| Clicker | Signals the same draw length every shot | ✓ | – | – |
| Sight | An adjustable pin, or a magnified scope | ✓ | ✓ | – |
| Stabilizers | Balance the bow and damp vibration | ✓ | ✓ | – |
| Peep and D-loop | A string peep to aim through, a loop for the release | – | ✓ | – |
| Bow or finger sling | Stops the bow falling after the shot | ✓ | ✓ | ✓ |
Start with the short list and live with it for a month. You’ll quickly notice what you actually miss. For me it was a better-looking arm guard, then a hip quiver.
Shooting form and the shot cycle
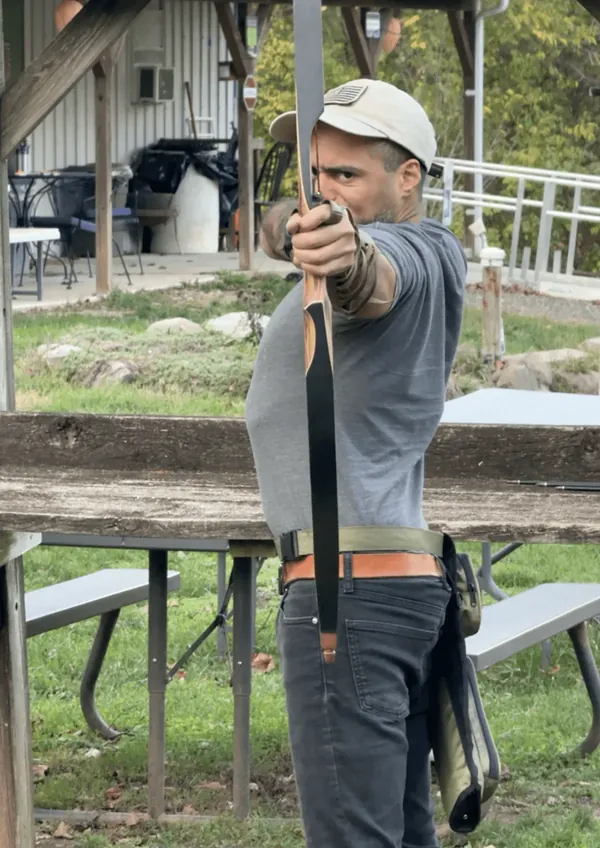
Form is where archery stops being a gear hobby and becomes a skill. My two longest-running mistakes were both form: I wasn’t drawing all the way to my cheekbone, and I wasn’t standing in a proper T. My anchor now is my thumb knuckle on my cheek. At the beginning there was just no way I could pull it that far; now I can most of the time.
Good form is just the same shot, repeated. Coaches break every shot into a sequence of steps, and learning to think in steps does more for your groups than any gear you can buy.
Watch the last few seconds of the video, after the arrow has gone:
After the shot, her bow arm stays up and her fingers end up behind her neck, creating the follow-through.
The shot isn’t over when the string goes. Keep your bow arm up and hold your form until the arrow lands (step 9 below); dropping the bow early can pull a good shot off line.
The shot cycle, in ten steps
one cue per step- 01StanceFeet shoulder-width, side-on to the target.
- 02NockArrow on the rest, nock under the nocking point.
- 03Hook & gripThree fingers on the string. Bow hand relaxed.
- 04Set upRaise the bow, bow arm toward the target.
- 05DrawPull with your back, not your arm.
- 06AnchorSame spot on your face, every shot.
- 07Aim & expandSettle, aim, keep pulling gently.
- 08ReleaseRelax the fingers. Let the string go.
- 09Follow throughHold your form until the arrow lands.
- 10ReflectOne thought about that shot, then reset.
Don’t try to fix all ten at once. Pick one step per session and give it all your attention. For most beginners the biggest win is a consistent anchorAnchor pointThe spot on your face your drawing hand touches at full draw, every single shot. A consistent anchor is where consistent groups start. Glossary →: the same spot on your face, every single shot.
The anchor in the video is the Olympic one, and it’s worth knowing what it looks like:
Olympic-style archers anchor with their finger touching their jaw and the string running up the chin, the lips and the tip of the nose.
That under-the-jaw anchor goes with a sight. Shooting without a sight, I anchor higher, with my thumb knuckle on my cheek, so the arrow sits closer to my eye. Either way, the rule is the same: one spot, every shot.
Why your back, not your armShow
Pulling with your bicep makes you shake within seconds. Squeeze your shoulder blade toward your spine instead. It feels strange at first, then it feels like the bow got lighter.
What a “relaxed” bow hand meansShow
The bow sits in the web between your thumb and finger and pushes into the meat of your thumb. Your fingers stay loose. If your knuckles are white, you’re torquing the bow.
How to check your anchorShow
Film yourself from the front at full draw. Pause the video on five shots. If your hand is in five different places, that’s your next session.
Expect your form to feel worse before it feels better. When you start pulling with your back instead of your arm, or relaxing your bow hand, your groups may open up for a week or two. Stick with it. The old habits were capping how good you could get.
How to aim a bow
Aiming is the part that surprised me most. I spent four years as a Marine machine gunner, so I understood looking down sights very well. With a traditional bow there’s no real place to aim. You have to trust yourself and build the muscle memory. You can pick a reference point, but it moves with the distance, and nothing prepared me for that.
There’s no real place to aim, so you just kind of have to trust yourself and kind of build that muscle memory.
It turned out to be mostly about consistency. If your anchor and release are the same every time, almost any aiming method works. If they aren’t, no method will save you. And it does come: my best shot was at 50 yards, where the arrow flew way up and came down on the target right where I wanted it.
There are three ways to aim a bow, and none of them is wrong. Pick one to start with and stick with it for a few months before you judge it.
Instinctive shootingShow
You look at the spot you want to hit and let your brain do the rest, the way you’d throw a ball. It takes longer to get consistent, but it’s fast and it’s how most traditional archers shoot.
Gap shootingShow
You use the arrow point as a reference and learn how far below or above the target to hold it at each distance. It’s a good middle ground.
Using a sightShow
A sight pin on the riser does the aiming. It’s the most precise method and the standard for compound and Olympic recurve, but it adds gear and setup. Compounds add a magnified scope, a level bubble and a peep sight in the string, so the eye, peep and pin line up the same way every shot.
String walking (barebow)Show
Barebow archers aim off the arrow point. To change distance, they move their fingers down the string below the arrow: lower for closer targets, higher for far ones. That tilts the arrow so the point lands on the gold. A barebow tab often has a printed scale so your fingers go to the same spot every time.
Many barebow archers anchor with a finger in the corner of the mouth instead of under the chin. Barebow rules also say the unstrung bow must fit through a 12.2 cm ring, which rules out stabilizers.
Whatever you pick, aim small, miss small. Pick one spot on the target, not the whole target.
Without a sight, accuracy is something you work on like a muscle. It builds a little with every session, not overnight.
Whatever method you pick, give it a fair trial. Switching methods every week is the fastest way to stay stuck at the same score.
Your first range day
Walking into a range for the first time is intimidating. Everyone seems to know what they’re doing, the equipment looks expensive, and there’s a whistle. I promise it’s friendlier than it looks. Archers love new archers, and most people there remember their own first day.
Not knowing what to expect is the hardest part of a first visit. Here’s what actually happens, so you walk in knowing.
A lesson is the best money you’ll spend in your first year. Many coaches also do remote form checks: you film a few ends on your phone, and they send back notes. Here’s what lessons cost in my area, and how to pick a coach.
Bring water, wear comfortable shoes and plan for about an hour and a half on your first visit. You’ll spend some of it waiting, some of it listening and maybe 45 minutes actually shooting, which is plenty. Your shoulders will tell you about it the next day.
A 90-day practice plan
Most beginners hit a plateau after the first month or so. Usually the problem isn’t how much you shoot: it’s shooting the same way every time, with no plan and no notes. Treat each session like practice instead of just shooting, and the progress comes back.
The biggest jump usually comes from shooting more often, not more arrows. Three or four short sessions a week beat one long one, because your shoulders recover and your form stays fresh.
Blank bale and short distance
- Distance
- 5–10 yd
- Arrows a session
- 60–90
- Sessions a week
- 3
- Same anchor on every shot
- A relaxed bow hand
- Book one lesson
Tighten your groups
- Distance
- 10–15 yd
- Arrows a session
- 90–120
- Sessions a week
- 3–4
- Hold 2–3 seconds at anchor
- Keep a range log
- Film yourself once a week
Distance and a score
- Distance
- 15–20 yd
- Arrows a session
- 120–150
- Sessions a week
- 3–4
- Score one 30-arrow round a week
- Try a league night or 3D shoot
- Move back only when groups hold
Only move back when your groups hold. A good test: if five arrows in a row land on a paper plate at your current distance, take two steps back.
The plan doesn’t need to be complicated. Each session, pick one thing to work on, shoot a set number of arrows, and write one sentence about how it went. Over twelve weeks those sentences turn into a record of exactly what helped.
Rest days matter. Archery is low-impact, but drawing a bow uses small muscles in your back and shoulders that need time to recover. Sore is fine. Sharp pain means stop for the day.
// Free printable
Get the range log I actually use.
Seventeen printable pages: session log, score tracker, a 30-day drill challenge, a bow maintenance card, a first-season checklist and more. Join the monthly email and it lands right away.
Targets, scoring and competition
It’s tempting to skip scoring because the numbers can sting. Don’t. A score is just a measurement, and keeping one every week shows you progress you can’t feel from day to day.
Most target faces use ten scoring rings, from 10 in the center to 1 at the edge. You don’t need to score at first, but keeping score once a week is the best way to see progress you can’t feel.
Rounds and target faces
Each style shoots its own distance and face size outdoors. Indoors, everyone shoots 18 m.
| Round | Distance | Face | Arrows |
|---|---|---|---|
| Outdoor recurve | 70 m | 122 cm, ten rings | 72 |
| Outdoor barebow | 50 m | 122 cm, ten rings | 72 |
| Outdoor compound | 50 m | 80 cm, inner ten | 72 |
| Indoor (all styles) | 18 m | 40 cm, or a triple spot | 60 |
| NFAA Indoor 300 | 20 yd | Five-spot | 60 |
Field archery scoring
Field archery is a walking course through woods and hills, with targets from about 5 to 60 m away. Some distances are marked, some you judge yourself, along with the slope and the wind. You shoot three arrows at each target, at a yellow-and-black face.
How a competition works
Your first competition will probably be a league night or a local indoor shoot. Bigger events follow the same shape.
Your first scored round will probably feel discouraging. Write it down anyway. Three months later, that number becomes the best evidence you have that the work is paying off.
Shoot one small local competition in your first year. The stakes are low, the people are kind, and shooting with a little pressure teaches you more about your form than a month of casual sessions.
Beginner mistakes and their fixes
I made plenty of these myself: for months I didn’t draw all the way to my cheekbone, I didn’t stand in a proper T, and I’ve lost more arrows than I can count. I tried my best to find them, but that’s just the way it goes. These mistakes are common because they feel natural. Gripping the bow hard, peeking at the arrow, rushing the shot: your body wants to do all of these things.
Most beginner problems come from the same short list, and each one has a simple fix.
Buying the heaviest bow you can pull once
Start at a weight you can hold for eight seconds, ten times.
Squeezing the grip
Push with a relaxed hand and let the bow sit in your thumb.
Plucking the string sideways
Relax your fingers and let the string push them out of the way.
Peeking to watch the arrow
Hold your follow-through until the arrow lands.
Changing your anchor shot to shot
Pick one anchor point and touch it every time.
Backing up too far, too soon
Stay at 10 yards until your groups fit on a paper plate.
The fix for most of them is the same: slow down and pay attention to one thing. You can’t fix six problems at once, but you can fix one this week and another next week.
Filming yourself is the fastest way to find your own mistakes. Thirty seconds of phone video shows you what you can’t feel at full draw, like peeking or a creeping anchor.
Bow care and maintenance
Bows are tougher than they look, but they’re not indestructible. A few minutes of care a week keeps a beginner bow shooting the same way for years. Skip it, and small problems like a fraying string or a loose limb bolt can turn into expensive ones.
A beginner bow needs about five minutes of care a week. Skip it and you’ll be buying a new string, or worse, a new set of limbs.
| When | What to do |
|---|---|
| Every session | Check every nockNockThe plastic slot on the back of the arrow that clips onto the string. Glossary → and the fletchingFletchingThe vanes or feathers on the back of an arrow that steer it in flight. Glossary →. Flex-test carbon arrows. |
| Every 2–3 weeks | Wax the string. |
| Every season | Check the limb bolts and your brace heightBrace heightThe distance from the deepest part of the grip to the string when the bow is strung. It affects noise, speed and how forgiving the bow feels. Glossary →. |
| Every 1–2 years | Replace the string, sooner if it frays. |
| Never | Dry-fire, or leave a strung bow in a hot car. |
Keep a small kit with your bow: string wax, a few spare nocks and a bow square, plus an Allen key if your bow is a takedown with limb bolts. It weighs almost nothing and can save a session.
Heat is the enemy. Never leave a strung bow, or any bow, in a hot car. Limbs can twist and strings can stretch. If you won’t shoot for a few weeks, unstring the bow and store it flat or on a rack.
Where to go from here
The beginner stage doesn’t end on a specific day. For most archers, it’s the first session where you stop thinking about every step and just shoot. You’ll know it when it happens, and it’s a great feeling.
Once you can hit the bale every time and you know the shot cycle, the sport opens up. These are the three directions most people go, and the one I’m headed in.
For me it’s bowhunting. If that’s your road too, the newsletter is where new hunting prep goes out first.
Wherever you go next, keep the habits you built here: the same shot cycle, the safety rules, the range log. They’re what got you this far, and they’ll carry you a lot further.
The stories in this guide are my own range days and mistakes; the rest is researched from coaches and official sources, listed below. If you have a question I didn’t answer, ask me. The best ones end up in this guide.
Questions beginners ask most
How long does it take to get good at archery?
Most people can hit the bale every time within a few sessions, and group arrows on a paper plate at 10 yards within two or three months of shooting a few times a week.
What draw weight should a beginner use?
For a recurve, most adults should start between 20 and 28 lb. If you can’t hold it at full draw for eight seconds, ten times in a row, it’s too heavy.
Can I teach myself archery?
You can, but take one lesson anyway. One or two early on save months of bad habits.
Can I practice archery in my backyard?
Often, yes, if local laws allow it and you have a proper backstop. Check your city and county rules first.
How old do you need to be to start?
Many clubs and school programs start kids around 8, with light bows and close targets.
What is barebow archery?
Recurve shooting without a sight or stabilizers. You aim off the arrow point, often by string walking. It’s the simplest way to compete with a recurve.
Is archery expensive to start?
No. A lane fee and a rental bow run about $20–45, and a complete beginner recurve setup costs about $250–400.
Recurve or compound for a beginner?
A recurve for most beginners: it teaches form and costs less. A compound is easier to hold and more accurate early, so if you plan to hunt this season, see a pro shop about one.
How far should a beginner shoot?
Start at 5–10 yards. Move back only when five arrows in a row land on a paper plate.
What should I wear to shoot?
Closed-toe shoes, a snug shirt with no baggy sleeve on your bow arm, and no dangling jewelry.
Do I need my own bow to start?
No. Most ranges rent bows. Shoot rentals a few times before you buy, so you know what you like.
How does let-off on a compound work?
Cams roll over near full draw, so you hold only 10–35% of the peak weight. A 60 lb compound with 80% let-off holds at about 12 lb.
Still have a question?